Summary:
-
What do seeds look like before, during, and after sprouting?
-
What emerges from a seed?
-
Sample collection and preparation ideas to get you started!
Question Prompt:
How do plant structures change microscopically over time?
Yes, this is a broad question, but this month’s blog is only going to focus on ideas to get your students studying the microscopic changes in seeds. Watching life burst forth from seemingly inert seeds is a great way to engage students in a longitudinal garden study! Warmer temperatures and spring rains make this the ideal time to plant seeds in the garden. Read on to learn how to collect samples, prepare slides, and use Foldscopes to study the changes taking place within seeds.

Figure 1. Picture of radish seeds sprouting in a petri dish
(Photo Credit: Holly A. Stuart)
Background:
The seed is the start of the plant life cycle. Seeds are sources of protection for the plant embryo. They contain everything plants need to survive the cold temperatures of winter, the digestive systems of animals, and long periods of dry weather.

Figure 2. Picture of dried bean seeds
(Photo Credit: Holly A. Stuart)
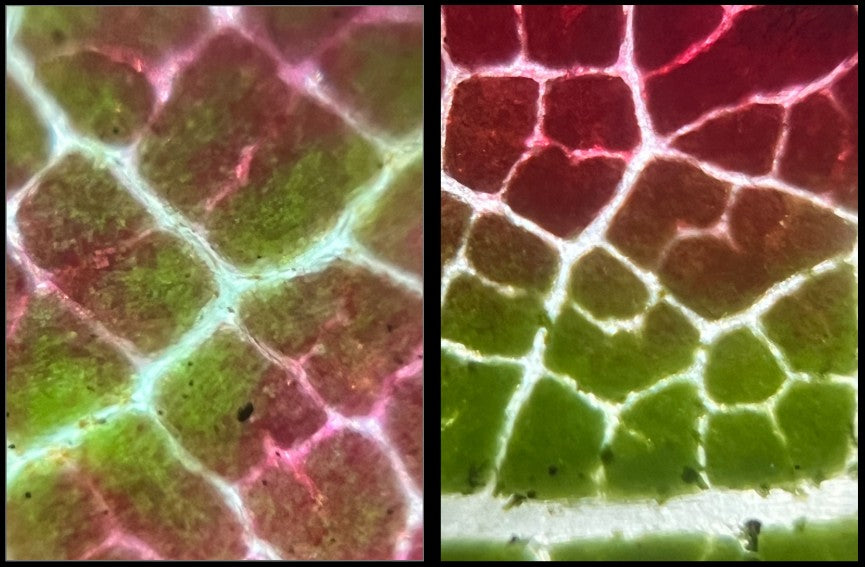
Seeds can be the focus of a variety of research studies because there are so many different features to observe under a microscope. The seed coat is the outer protective layer (this Foldscope Explores blog is all about seed coats). You can study the growth rate, direction, patterns, and microbial activity around the initial root hairs of the sprout. And the cotyledons (or first leaves) can be studied to learn about their initial chloroplast and stomata density, plant cell shapes, cell wall thickness, etc.
 Figure 3. Left to right: radish seed coat (140X), beet root hair (140X plus 5X digital zoom), and radish cotyledon (140X) viewed under a Foldscope 2.0
(Photo Credit: Holly A. Stuart)
It is important to remember that these questions and specimen ideas are only suggestions. You should encourage your students to think of their own questions and determine which samples they want to look at with their Foldscopes to help them find the answers.
No matter which samples you choose, there are microscopy techniques you should keep in mind for making slides that will give you the best imaging and viewing quality.
-
Seed Coat
-
Read the Foldscope Explores… Seed Coats! blog to learn more about this topic.
-
Place the seeds on a slide or trading card, cover them with a clear sticker or tape to hold them in place, insert the slide into the Foldscope, and use the reflective lighting setting on the 2.0 LED light module.
-
Note: the 50X lens works really well with this technique.

Figure 4. Radish seeds on slide under tape and dried radish seed coat viewed with a Foldscope 2.0 at 50X magnification with reflective lighting
(Photo Credit: Holly A. Stuart)
-
Soaked & Sprouted Seed Coat
-
Use tweezers to peel off the seed coat and lay it flat on a slide or trading card. Cover the coat with a cover slip or clear sticker. Insert the slide into the Foldscope and view the sample.

Figure 5. Radish seed coat (soaked) on slide and radish seed coat (soaked) viewed with a Foldscope 2.0 at 50X magnification
(Photo Credit: Holly A. Stuart)
-
Root Hairs
-
Use tweezers to pull off a tiny section of the root hairs and lay them flat on a slide or trading card. Cover the root hairs with a cover slip or clear sticker. Insert the slide into the Foldscope and view the sample.
-
An alternate method is to place the root hair on a slide or trading card with a ring sticker and a drop of water. This provides a medium for microbes to swim around in, letting you study the microbiome in addition to the physical structure of the root hairs.

Figure 6. Radish root hair dry mount, radish root hair wet mount, and radish root hair viewed with a Foldscope 2.0 at 340X magnification plus 5X digital zoom
(Photo Credit: Holly A. Stuart)
-
Sprout Stem
-
Use a microtome or a sharp razor/scalpel to slice a thin cross section of the sprout stem and place it on a slide or trading card. Cover the cross section of the stem with a cover slip or clear sticker. Insert the slide into the Foldscope and view the sample.
-
Use a microtome or sharp razor/scalpel to slice a thin longitudinal section of the sprout stem and place it on a slide or trading card. Cover the longitudinal section of the stem with a cover slip or clear sticker. Insert the slide into the Foldscope and view the sample.

Figure 7. Radish sprout stem cross section on slide (top left), radish sprout stem longitudinal section on slide (bottom left), and radish sprout stem longitudinal section viewed with a Foldscope 2.0 at 140X magnification plus 5X digital zoom
(Photo Credit: Holly A. Stuart)
-
Cotyledons
-
Use tweezers to pull the cotyledons off of the sprout and lay them flat on a slide or trading card. Compare the top side to the bottom side by placing one leaf face up and one face down on the slide. Cover the cotyledons with a cover slip or clear sticker. Insert the slide into the Foldscope and view the sample.

Figure 8. Radish cotyledons on slide and radish cotyledon viewed with a Foldscope 2.0 at 340X magnification plus 5X digital zoom
(Photo Credit: Holly A. Stuart)
-
-
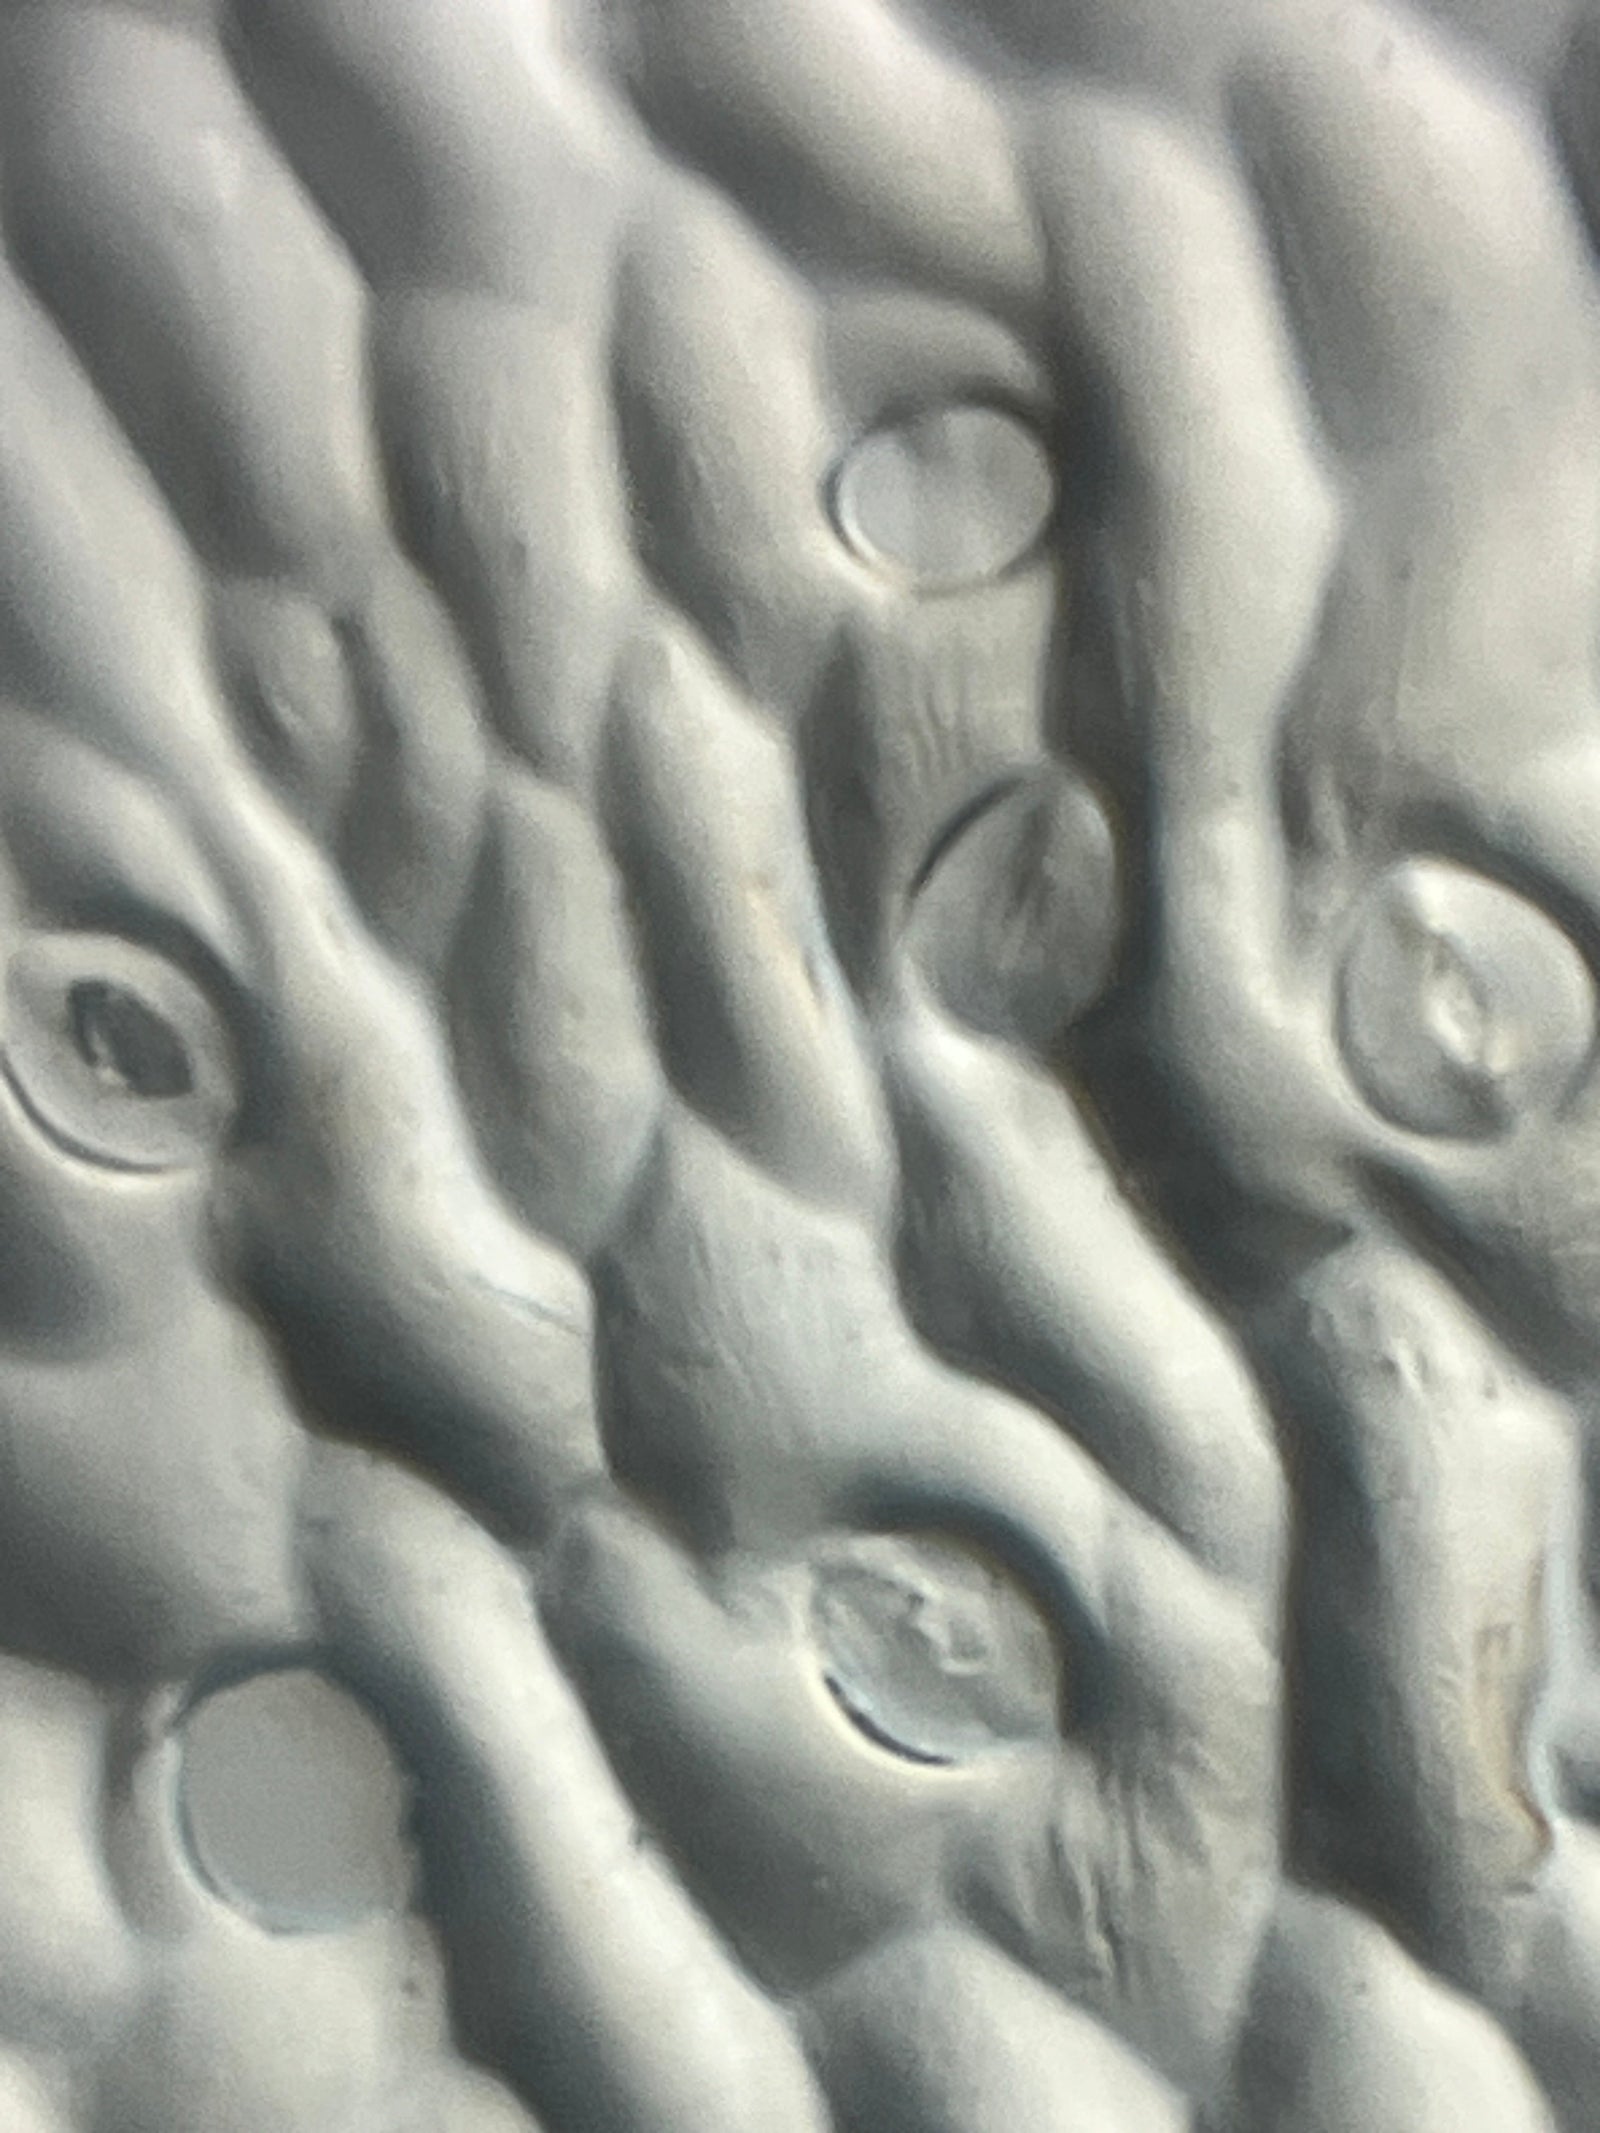
Use tweezers to pull the cotyledons off of the sprout and lay them flat on a lab bench. Apply a thin layer of clear nail polish to the underside of the cotyledon and allow it to dry. Use a clear sticker to peel the thin layer of polish off of the cotyledon and place the sticker on a slide or trading card. Insert the slide into the Foldscope and view the stomata from the sample.
-
 Figure 9. Applying nail polish to radish cotyledons, clear tape with cotyledon cast impression on slide, and radish cotyledon stomata viewed with a Foldscope 2.0 at 340X magnification plus 5X digital zoom
(Photo Credit: Holly A. Stuart)
Connect:
These are just a few microscopy techniques to get you started on your study of seeds. What other seed related structures do your students want to study? Let us know! Sharing your observations, discoveries, pictures, and interdisciplinary extension activities with the Foldscope community on the Microcosmos helps build up a strong scientific database that can help support new and innovative scientific research. Tag us on social media, too. We love to see how Foldscopers around the world are using their Foldscopes in new and innovative ways!
Next month we’ll look at roots and stems - the foundations and backbones of plants!

Figure 10. Picture of tomato plant stem and roots
(Photo Credit: Holly A. Stuart)
Facebook: @Foldscope
Instagram: @teamfoldscope
Blue Sky: @teamfoldscope.bsky.social
TikTok: @foldscope
Threads: @teamfoldscope
Twitter: @TeamFoldscope


