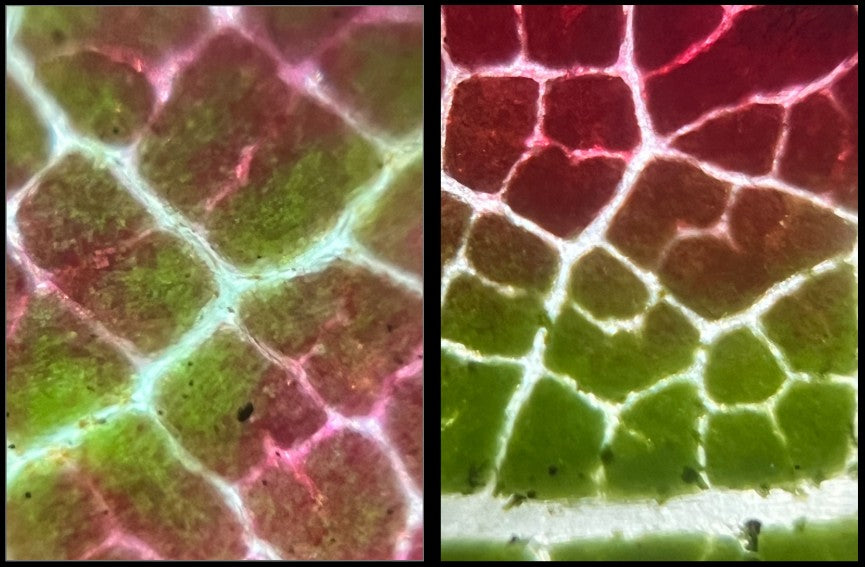
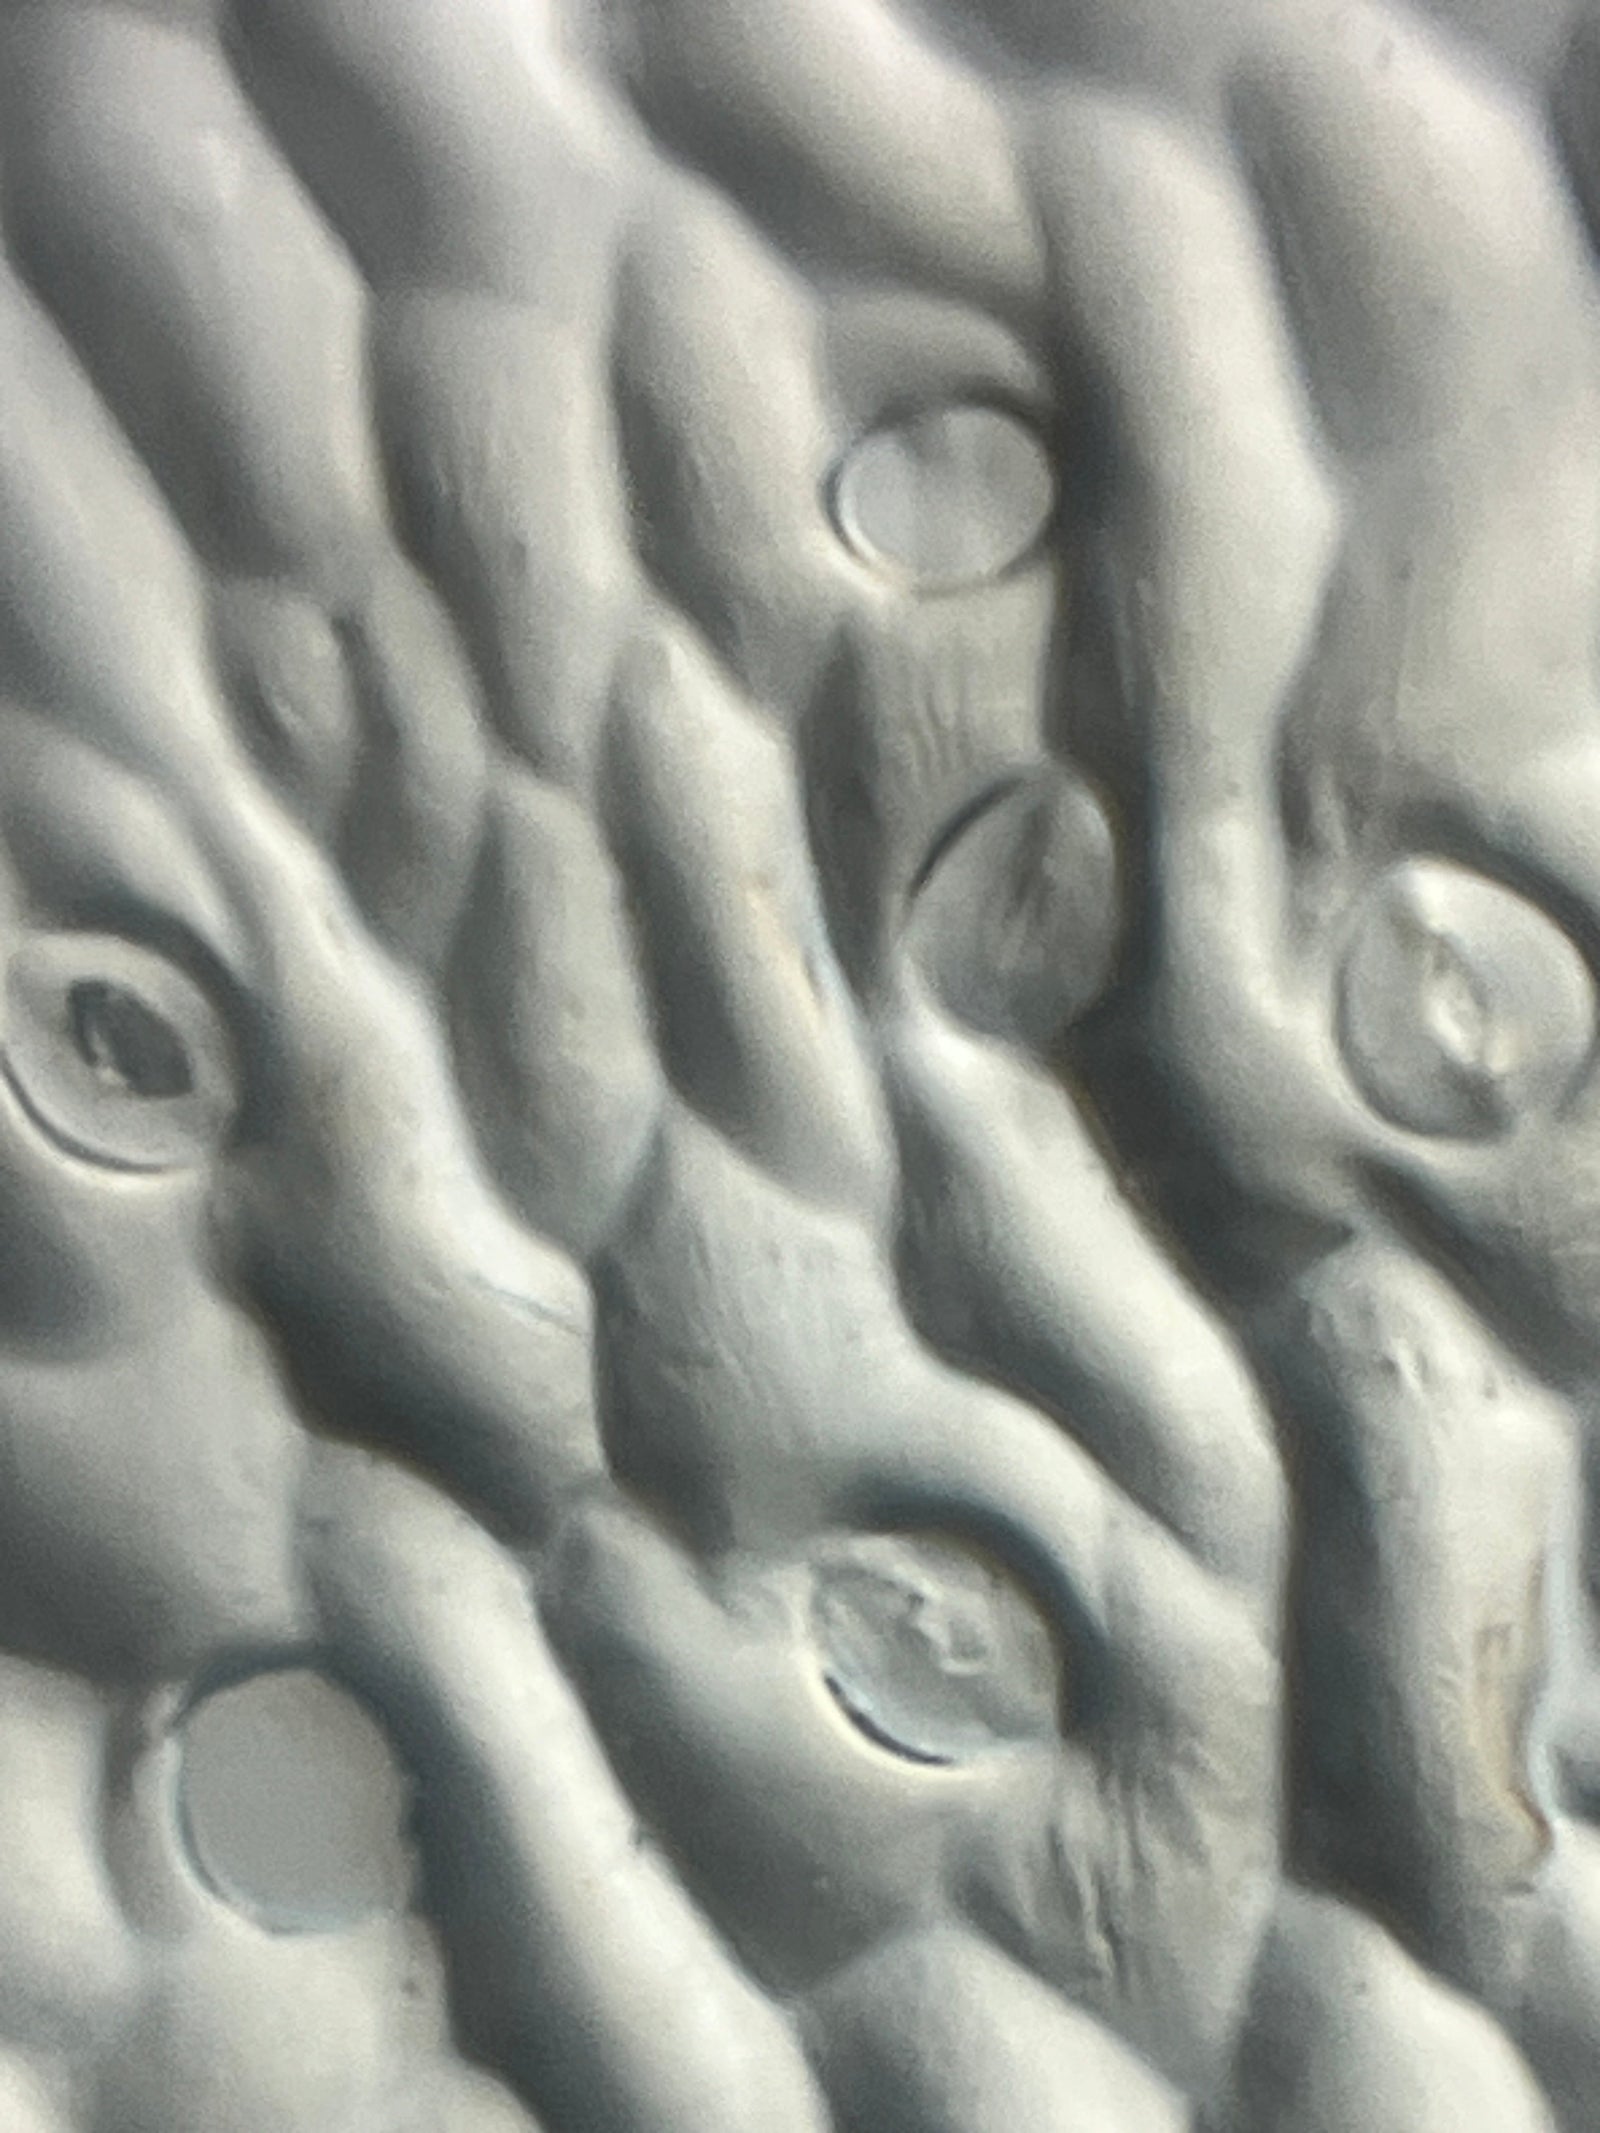
Question:
What happens when you let your students create their own worksheets?
Worksheets are a common tool in the science classroom. They provide an easy way to synthesize content into one streamlined, concise space. Worksheets often include diagrams to label and color, terms to define, and questions to answer. Unfortunately though, worksheets often fall flat in terms of student engagement and deeper understanding of the content.
Why not change things up and have your students make their own worksheets? With a Foldscope 2.0, students can project microscopic images onto a piece of paper and trace them. This eliminates the stress that some students feel regarding their artistic abilities, keeps the scale of the parts of the drawing accurate, and gives students ownership of their learning. Read on for a fun way to let your students create their own worksheets with their Foldscope 2.0!

Materials/Procedure:
Note, this activity works best in a dimly lit room. If your classroom is too bright, consider creating privacy walls using manilla folders. This way each student can create a darker space for their projected image. The light source for projection can be either a strong flashlight or the flashlight from a phone.
- Materials:
- Science notebook
- Pen/pencil/colored pencils
- Foldscopes
- Slides (either prepared slides or slides made by students)
- Flashlights
- Ring stand

- Prepare your slide (either use prepared slides or have students create their own) using samples related to the content.
- Insert the slide into the Foldscope 2.0.
- Look through the Foldscope 2.0 with your eye and adjust the focus so that the image is clear.
- Place the Foldscope face down on the ring stand.
- Shine the light of a flashlight through the back of the Foldscope (see Figure 3 below).
- Place your science notebook under the Foldscope so that the image is projected onto the page.
- Adjust the height of the ring stand so that the image is in focus on the page.
- Use your pen, pencil, and colored pencils to trace the projected image onto your page.
- Label the parts of the sample on your page.
- Repeat the process with other slides and samples.
- Write descriptions of what you see under your drawings.

Once the drawings are finished, allow students to decide how to include supporting information related to the topic. This can include additional drawings, definitions, descriptions of relationships, answers to key questions, or even student generated questions.
Connect:
Share your student created worksheets with the Foldscope community on the Microcosmos. We love to see how educators are using Foldscopes to inspire creativity in their classrooms!


