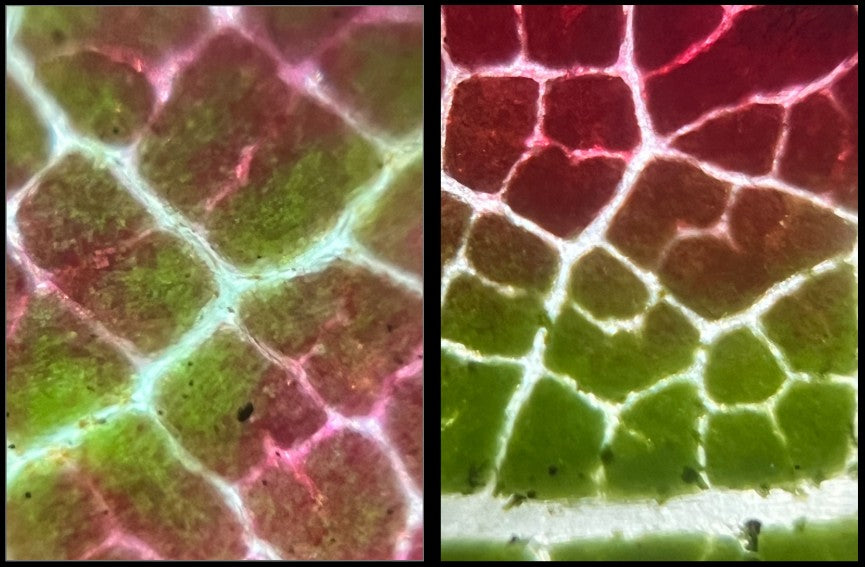
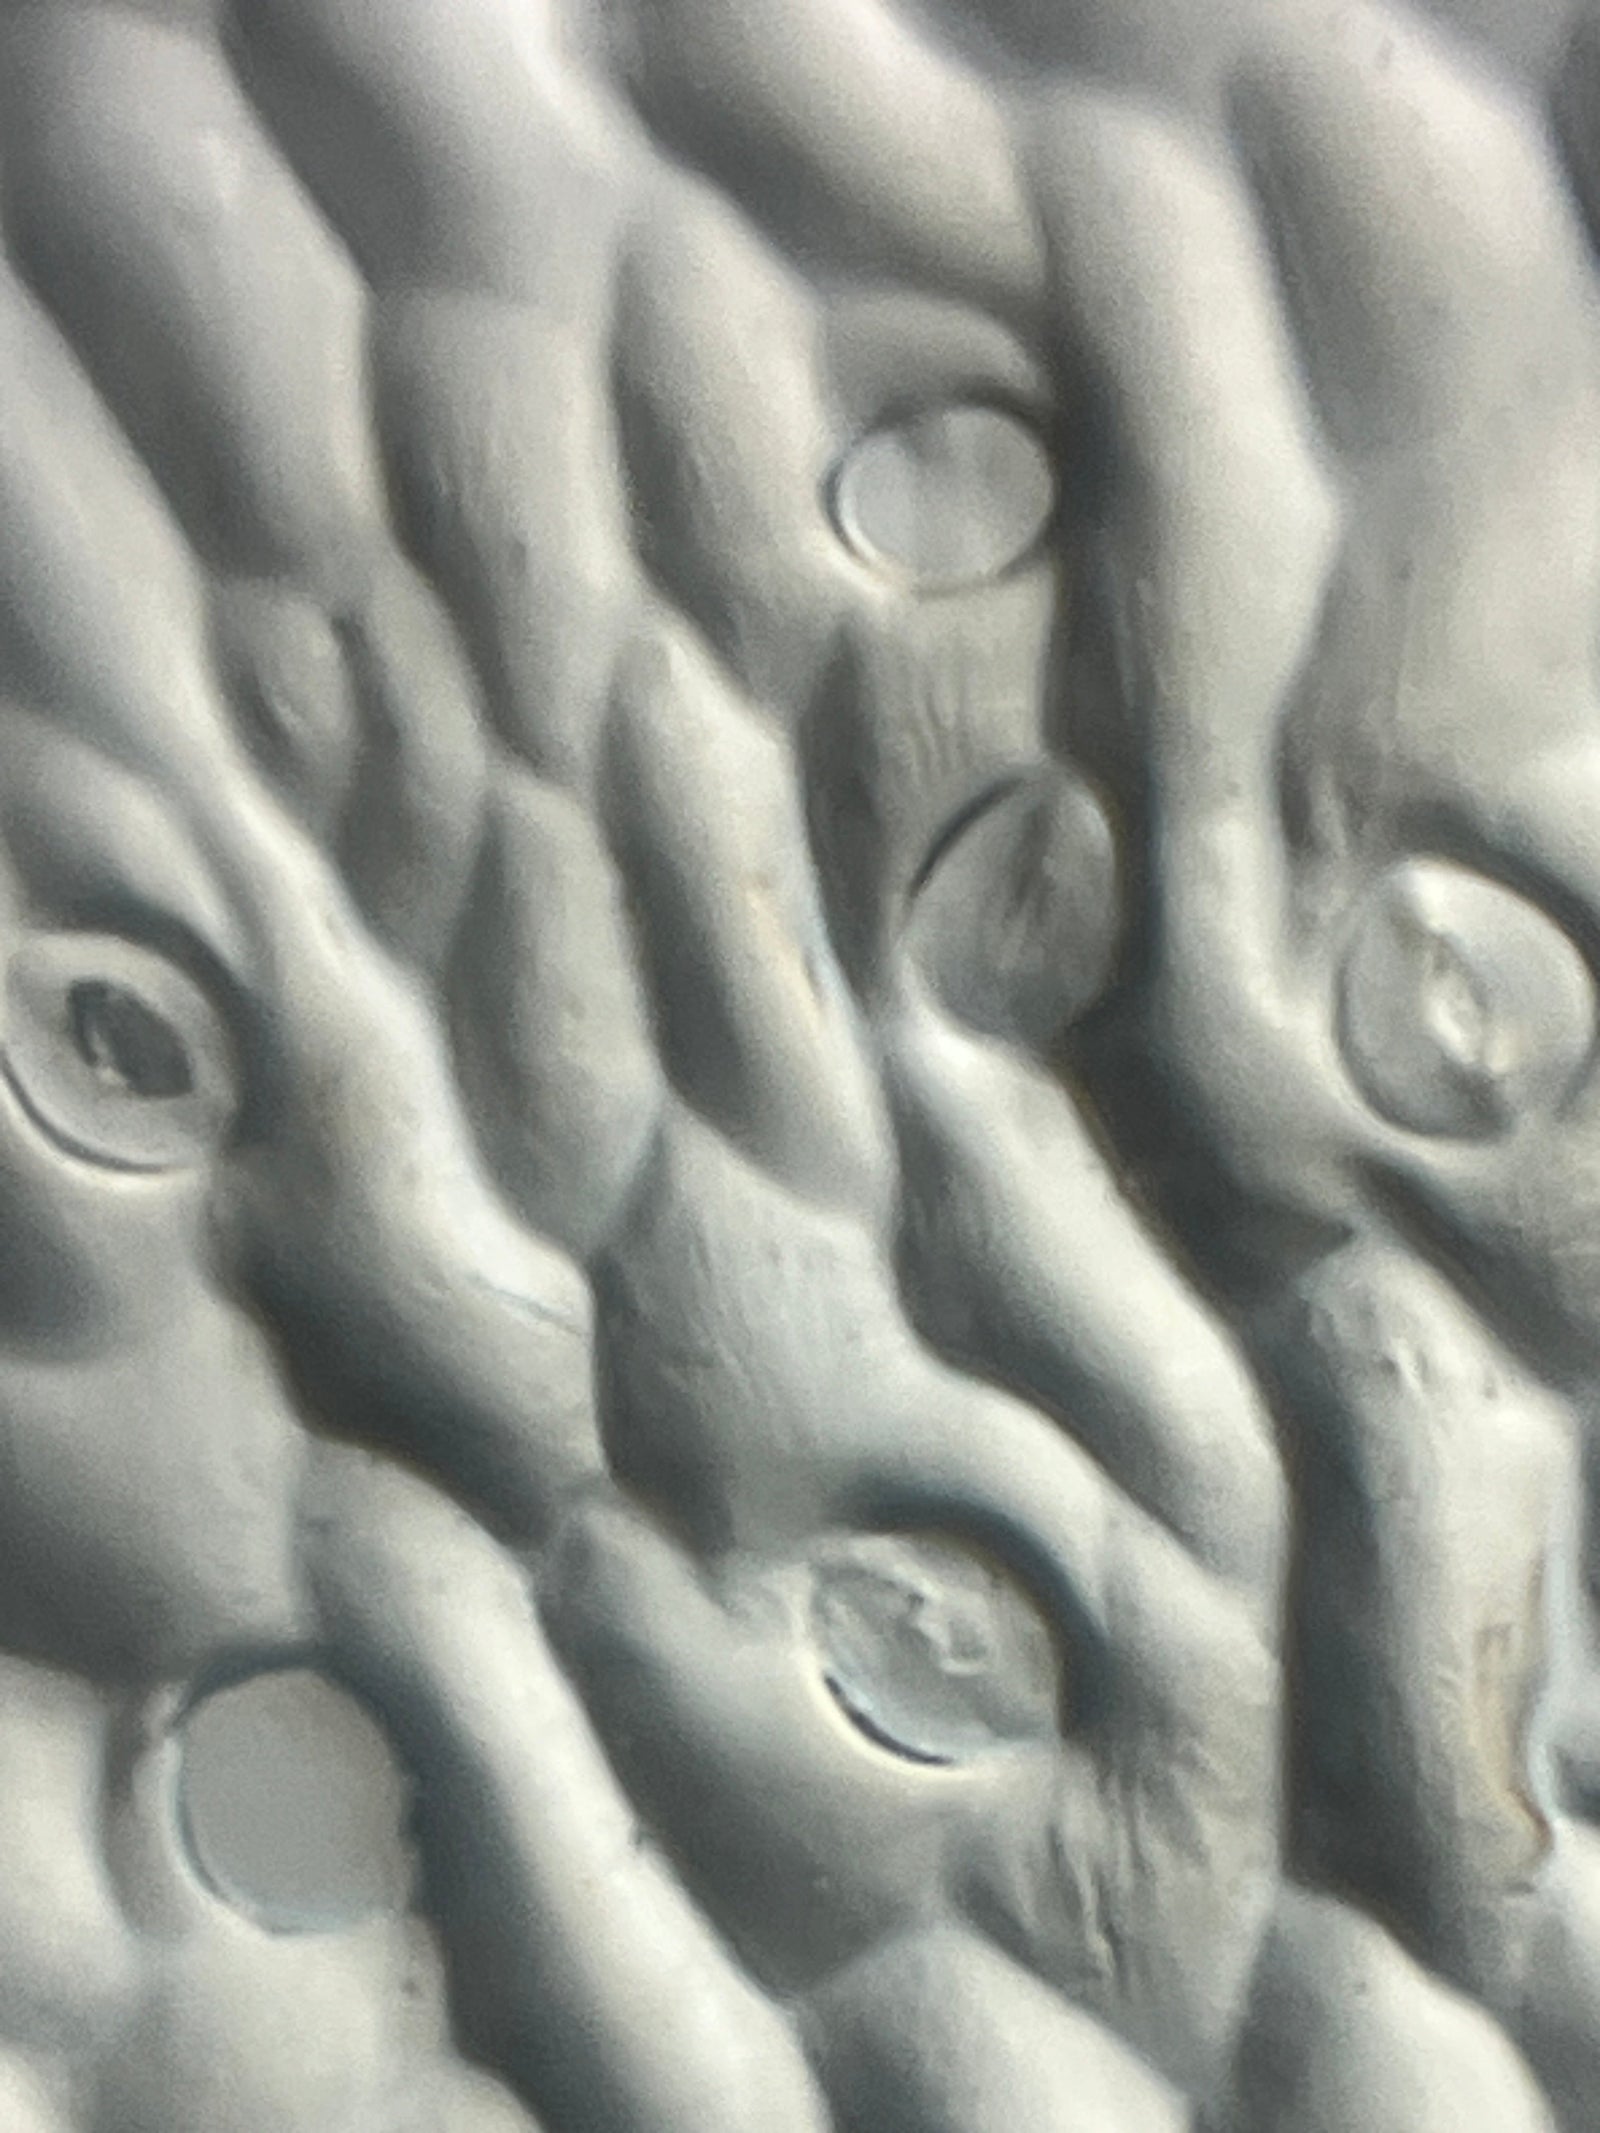
Question:
What makes a seed so special?
Seeds are an important part of the reproductive cycle of plants - they contain everything needed to grow into a new plant! Seeds are produced by gymnosperm and angiosperm plants. Gymnosperm seeds are either uncovered or encased in cones. Angiosperm seeds are tucked away inside the fruits of flowering plants (except for strawberries which feature seeds on the outside of the fruit!).
Seeds have the ability to remain dormant for many years waiting for the right environmental conditions to begin their growth cycle!
Considering that so many plants have evolved to have seeds (over 80% of all plants are angiosperms!), they must be pretty important, right? Let’s take a closer look at seeds with our Foldscopes!

Background:
A seed is made of three components: an embryo, seed coat, and a food source for the embryo. The embryo is the part of the seed that will grow into a new, fully developed plant. The seed coat is the protective outer layer of the seed. The food source is a combination of starches and proteins that provides nutrients to the embryo. And with just these three parts, a tiny seed has the ability to become a giant oak tree, a bright yellow sunflower, or a spicy red pepper!
It is possible to dissect a seed and separate these three structures. Conducting a microscopic analysis of seeds is fun and can help deepen a student’s understanding of its components. And, each of the parts of a seed can be observed under a Foldscope!

Directions/Procedure:
This activity does require the teacher to prepare the seeds a few days ahead of time. And note that the dissection can either be done by the teacher or students depending on student age and ability, and classroom time constraints.
Here is what you will need and what you will do in order to complete the activity with your students.
- Materials:
- Science notebook
- Pen
- Seeds (bean seeds work well due to their large size and quick sprouting time)
- Petri Dish
- Paper Towels
- Dissecting Kit (or tweezers and a scalpel or razor blade)
- Foldscope
- Glass Slides (or Paper Slides)
- Glass Coverslips (or Clear Stickers)
- Optional: Methylene Blue Vital Stain
- Procedure:
- Wrap the seeds in a wet paper towel and place them in a petri dish.
- Cover the dish and let the seeds sit for 2-3 days.
- Use the tools in the dissecting kit to separate out the different parts of the seed.
- Seed Coat: use a teasing needle and/or tweezers to peel off the seed coat. Place thin strips of the seed coat on a slide and seal them in place with a glass coverslip or clear sticker.
- Microscopic Observation: Do you notice a difference between the outside and inside of the seed coat?
- Embryo: Use the scalpel to remove the embryo from the seed. Prepare both cross section and longitudinal section samples to place on a slide. Cover them with a glass coverslip or clear sticker.
- Microscopic Observation: Do you see the beginnings of the vascular system? Do you notice a difference between the cross section and longitudinal section samples?
- Seed Food Source: Use a scalpel to cut very thin (translucent) cross sections and longitudinal sections. Place them on glass slides and secure them in place with a glass coverslip or a clear sticker.
- Microscopic Observations: Are you able to see the starch granules? Do you notice a difference between the cross section and longitudinal section samples?
- Note: if it is challenging to see the structures, add a drop of diluted methylene blue vital stain to the sample on the slide in order to add contrast and increase visibility.
- Using your science notebook and pen, draw and label what you saw in the Foldscope.
- Make connections between the microscopic structures and the function of the seed part. Record these connections in your science notebook.

What adaptations would a seed need to survive in a dry climate? Can you design an experiment to test your hypothesis?
Real World Seed Scientist and Artist:
Dr. Marina LaForgia is a plant community ecologist and current L’Oreal for Women In Science Fellow. She studies seed traits that relate to dispersal and survival in dry climates. LaForgia spends a lot of time observing seeds under a microscope and wants to share their beauty with the world. This led to a collaboration with the artist Arielle Rebek. Rebek creates art that shows a dynamic connection between nature-based subject matter and their changing environments. Rebek uses a technique called cyanotype printing to capture the intricate beauty of seeds that can then be admired by the public. Think about what you saw under your Foldscope. Can you imagine those images being used in an artistic installation that would help people appreciate and learn more about seeds?

Extension:
This blog ties together the three dimensional framework of the NGSS. It covers the Disciplinary Core Idea of Life Science. Students will see the Crosscutting Concept of Structure and Function. This activity is also a way for students to deepen their understanding of the Science and Engineering Practice of Analyze and Interpret Data.

However, this exploratory activity can go beyond the science classroom. Join forces with:
- a Social Studies teacher to research how knowledge of seeds and agriculture changed human culture,
- a Math teacher to calculate the volume of different types of seeds,
- an ELA teacher to write a book that depicts a seed’s life cycle,
- and a culinary arts teacher to do a nutritional analysis of seeds versus other parts of the plant (fruit, leaves, roots, etc.)!

Connect:
Make sure to share your observations, hypothesis, results, and interdisciplinary extension activities. Submitting your Foldscope images of seeds to the Microcosmos will help build up a strong scientific database that can help support new and innovative scientific research!
Sources:
https://www.plantsciences.ucdavis.edu/news/exhibit-blends-art-and-science-shine-new-light-seeds
https://marinalaforgia.github.io/
https://ariellerebek.com/overview


