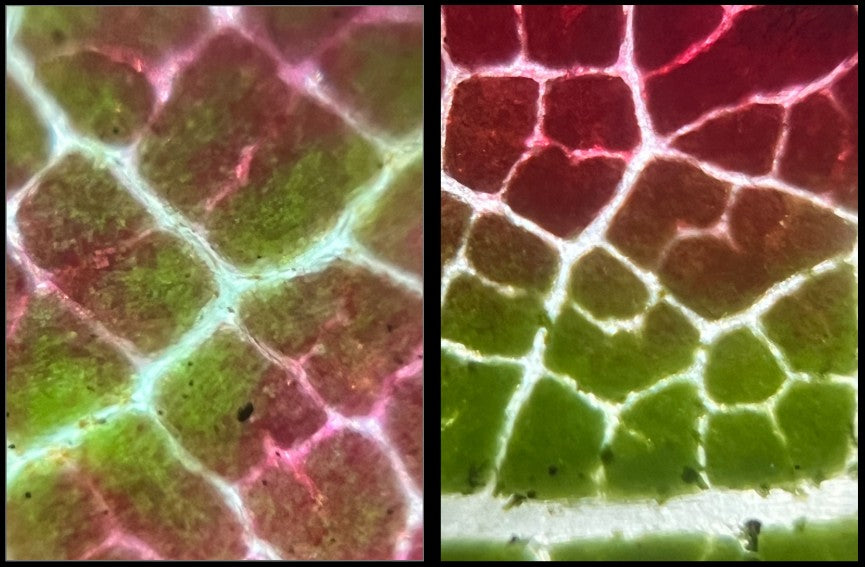
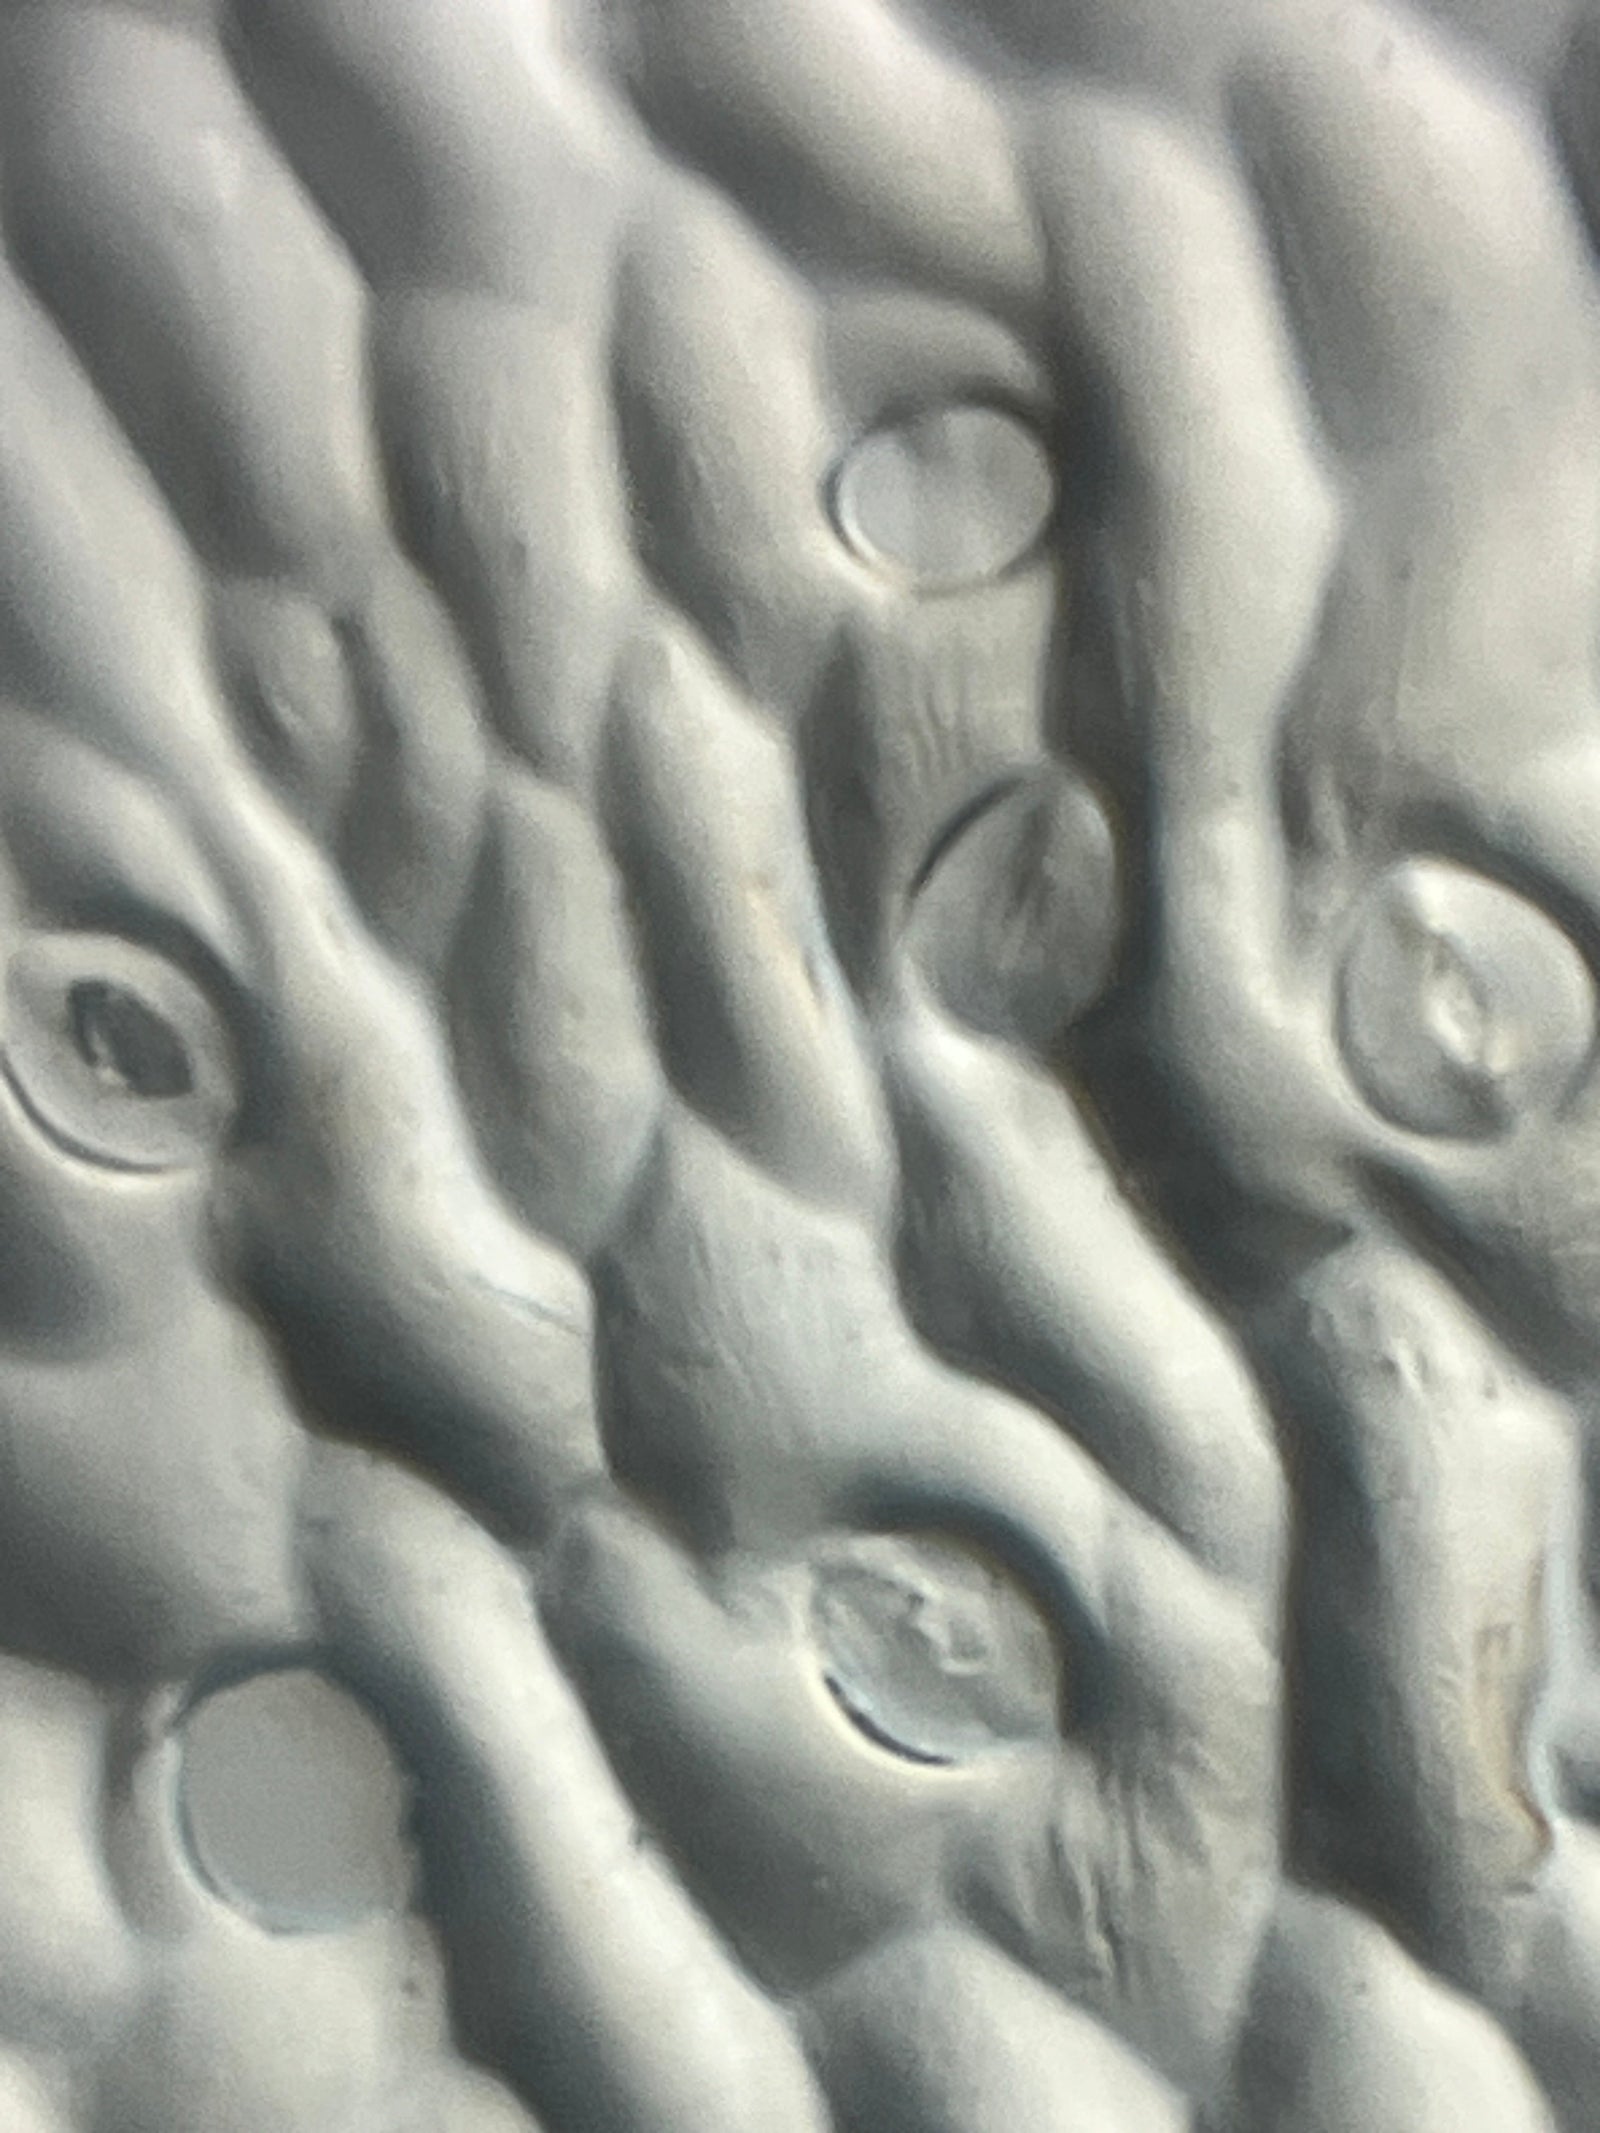
I recently noticed an increase in Foldscopers posting images of pollen on social media and on the Microcosmos (see this Microcosmos post for an excellent example!). Naturally, this made me more aware of the flowers on the azaleas growing in my yard. Read on to learn how I prepare pollen for viewing under my Foldscope 2.0 (and a fun lighting trick that can enhance your microscopic images!).

Pollen - How to Collect It
Pollen is produced by many flowering plants and is found on the anther. The anther is a structure on top of the stamen (the stalks coming out of the center of the flower). Flowers with large, prominent anthers are the easiest to get pollen samples from. To collect pollen, I generally use one of three methods.
- Take a piece of clear tape, touch the sticky side to the anther, and place the tape on a slide.
- Gently tap the anther onto a slide to catch the pollen that falls off and cover it with a coverslip or clear tape.
- Place the anther directly on the slide and cover it with a coverslip or clear tape.

Viewing Pollen
Plant species can be identified by their pollen grains when viewed under a microscope. There are many different shapes, sizes, and textures to the individual grains that are dependent on the species of flower that they come from. Azalea pollen has a triangular tetrahedral shape. At 340X magnification with the 5X zoom on my phone, the grains remind me of molars. Do you think they look like teeth? This level of magnification also lets you see how three dimensional the grains are!

Playing With Lighting
The above images represent what is called brightfield microscopy. If you look closely, you can see that the background of the picture is brighter than the pollen grains. This is because the light is going straight through the slide to your eye. The pollen grains block the light and appear dark. But there is a way to reverse this and make the background dark and the pollen grains appear brighter. These pictures definitely remind me of teeth with their white color!

To produce this type of image, you have to adjust the way the light hits your sample. By sliding the Foldscope 2.0 LED light module slightly to the side, the light will hit the sample at an angle. Note that you do have to hold the light module in place with your hand because the magnet will want to pull it back to the center.

I hope that this blog inspires you to try looking at your samples with different lighting techniques. The results can turn a beautiful microscopic discovery into a work of art!

Have you looked at pollen under a Foldscope 2.0? Use your Foldscope to dive into the microscopic world and find the beauty that is there waiting for you. Share your microscopic images and thoughts on the Microcosmos. Be sure to tag us on social media when you post the results of your explorations, creations, and discoveries! We love to see how Foldscopers around the world are using their Foldscopes in new and innovative ways!
Facebook: @Foldscope
Twitter: @TeamFoldscope
Instagram: @teamfoldscope
Threads: @teamfoldscope


