Question:
Is it possible to color something that is invisible to the eye?
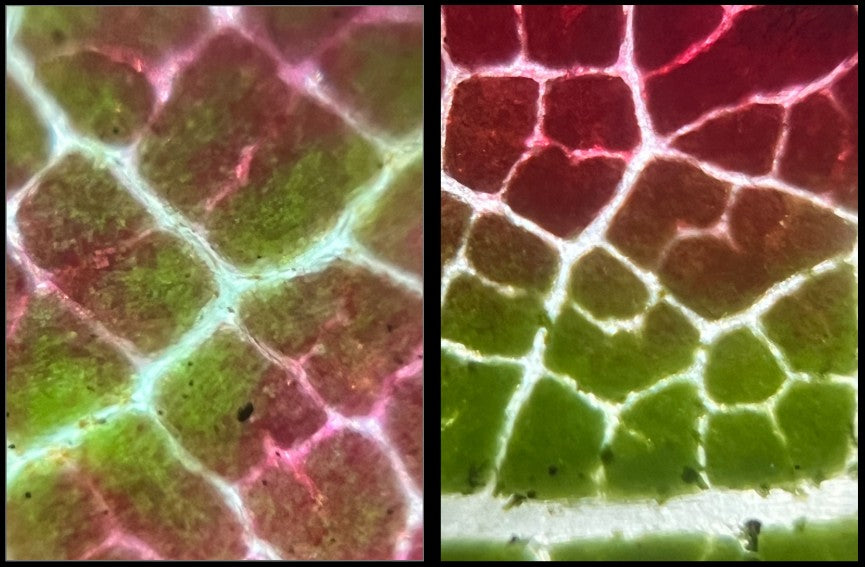
When you look at a prepared slide, do you notice the brilliant colors? Those colors are usually not present in the actual specimen, but rather something that scientists add to the slide. In addition to being beautiful, they help us to better observe and understand the tiny structures that a microscope reveals through magnification. Read on for a fun way to let your students discover the science and beauty of histochemistry with a Foldscope 2.0 and MicroRealms Explorer Cards!

Background:
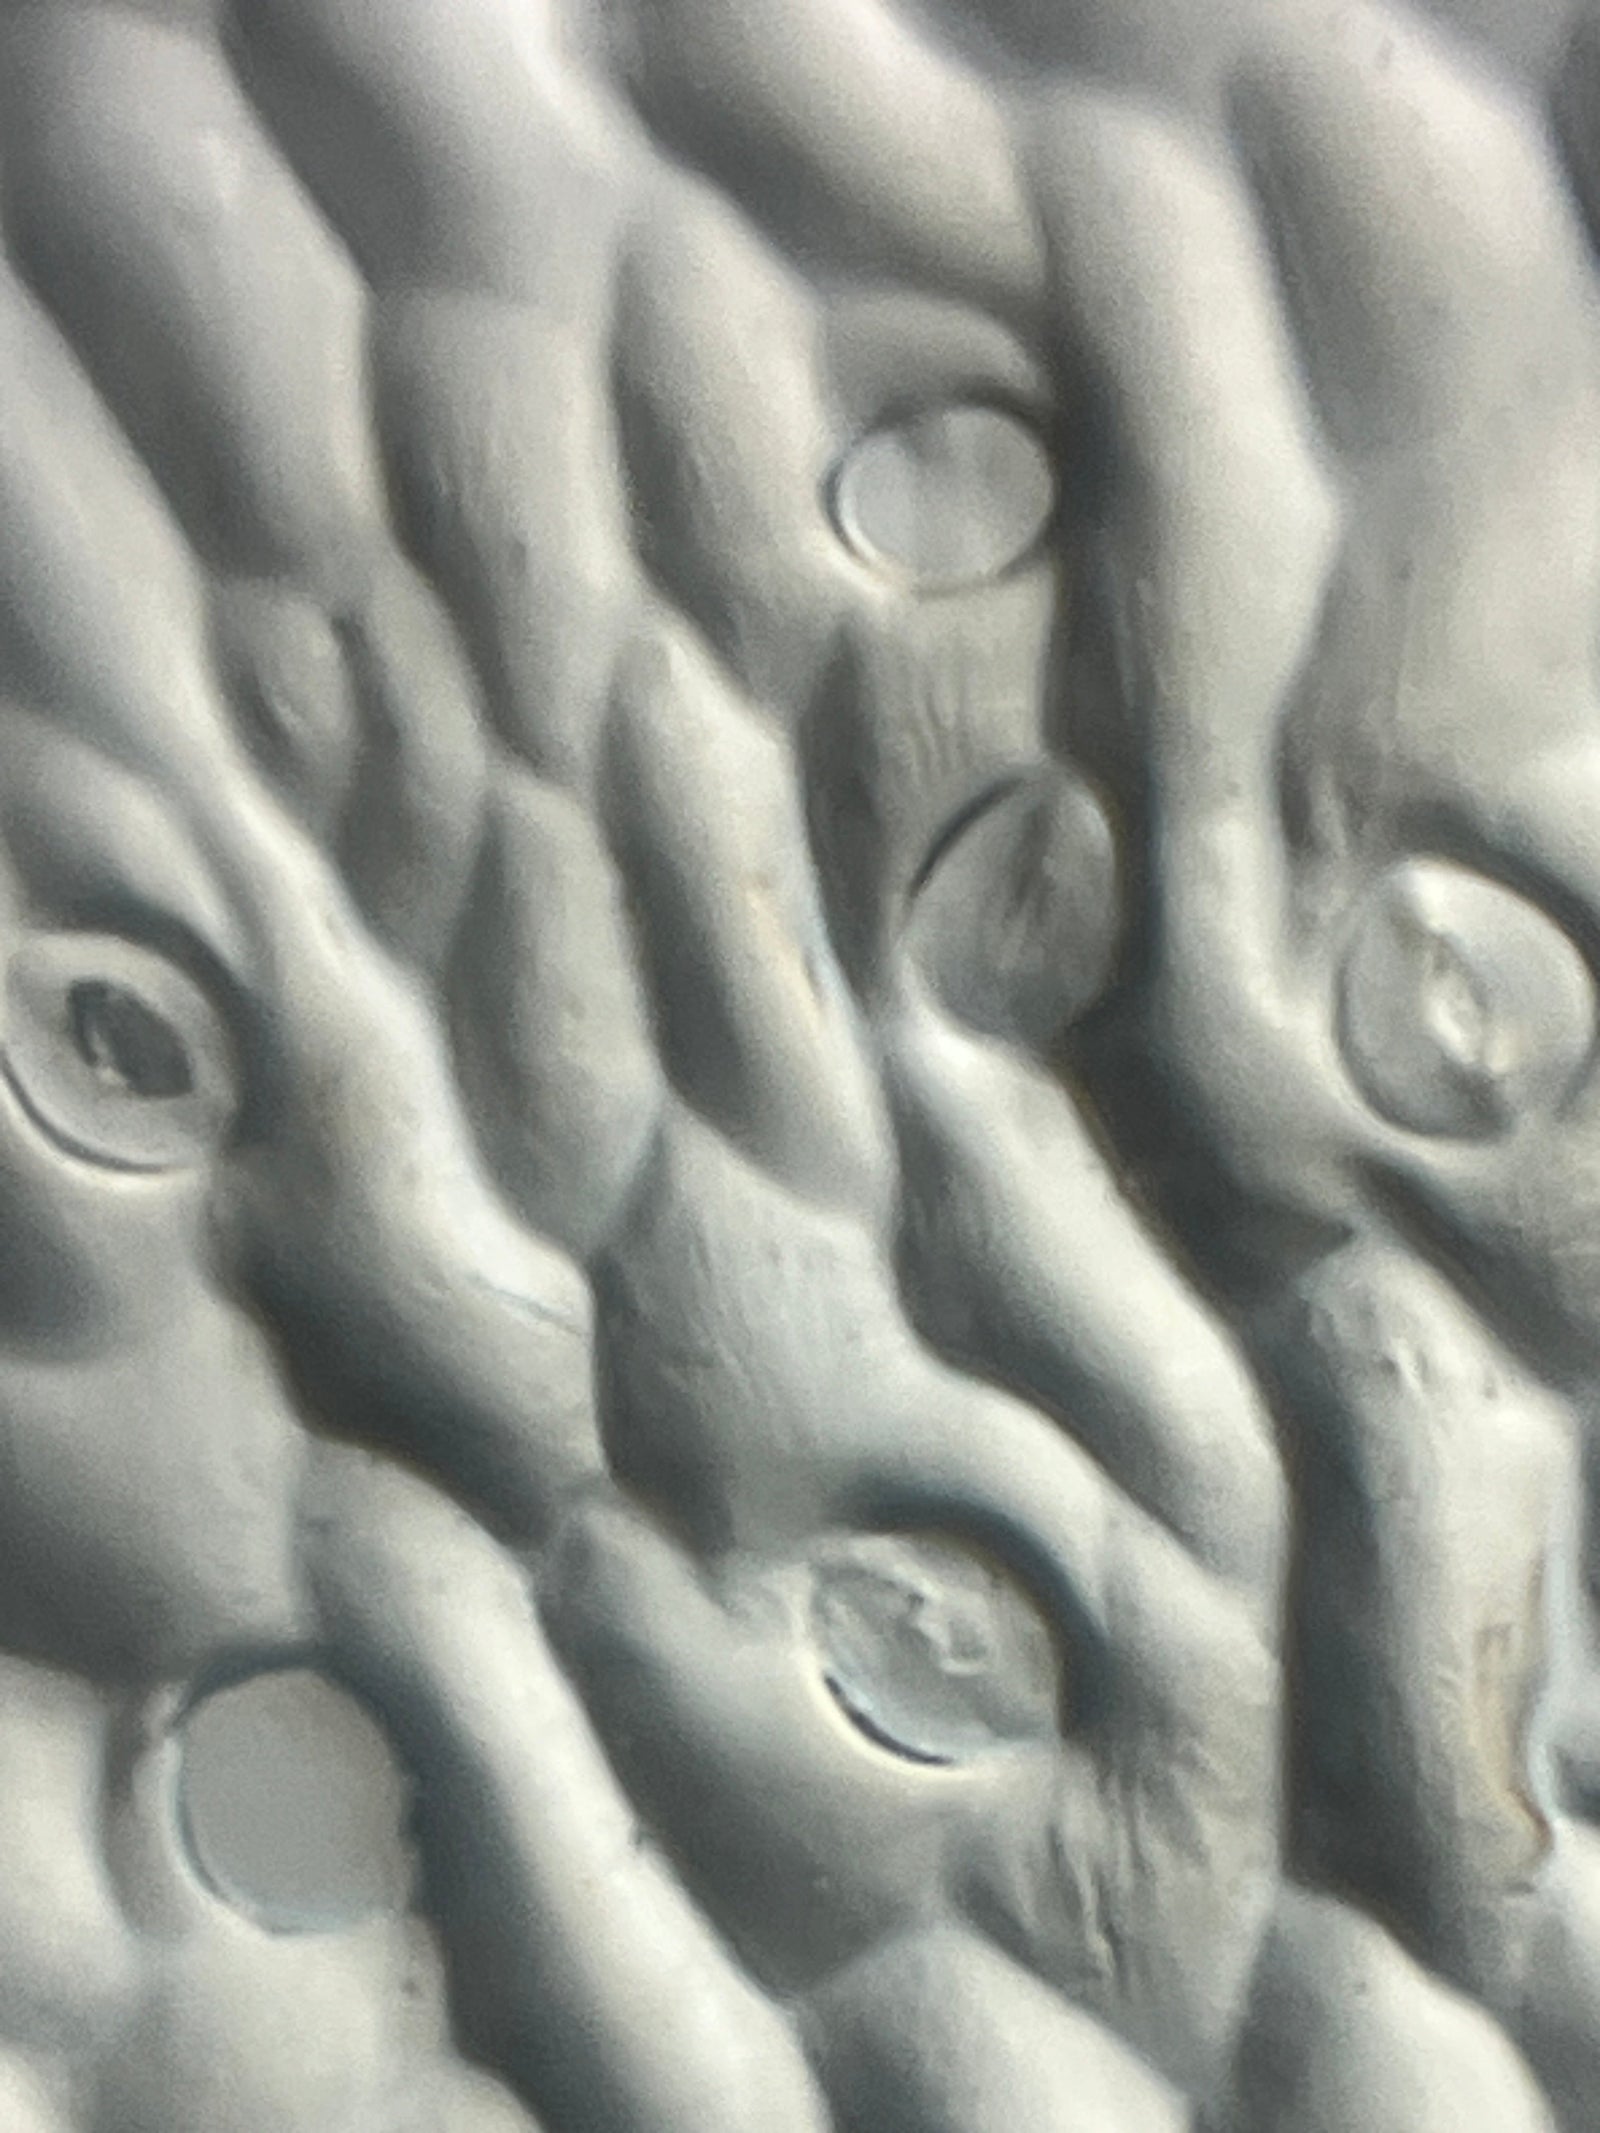
Microscopes are such important tools in the sciences. There is so much out there that we cannot see with the naked eye and the microscope brings us closer to understanding this invisible world. But even the microscope has its limitations because many of the structures that we are studying are transparent and colorless.
Histochemistry is a branch of science dedicated to the study of staining cells and tissues. Stains are special dyes that add color to microscopic structures to make them stand out. They can also reveal biochemical reactions occurring inside of living cells or tissues through color changes allowing scientists to monitor cellular functions.
This activity will allow students to compare slides with and without stains to better understand the combined power of histochemistry and microscopes.

Materials/Procedure:
Be advised that using stains can easily cause, well, staining of the skin, clothing, and anything else that the stain comes in contact with. Use your discretion for how your students will access the stains described in this activity.
- Materials:
- Science notebook
- Pen/pencil, colored pencils
- Classroom Set of Foldscopes
- MicroRealms Explorer Cards
- Prepared slides
- Foldscope Set 1 - Animals and Tissue Cells
- Foldscope Set 2 - Plants and Insects
- Foldscope Set 3 - Microbes and Microinvertebrates
- Vital stains for microscopy
- Slides (glass or blank trading cards)
- Coverslips (glass or clear stickers)
- Small pipette or eye dropper
- Petri dish
- Toothpicks
- Microtome or sharp blade for making thin slices
- Plant stalks/stems (thick ones)
- Onions

- Dilute the stain
- Place 10 mL of water into a petri dish
- Add a few drops of concentrated methylene blue stain
- Swirl to mix and set the dish aside
- Prepare cheek cell slides
- Use a toothpick to gently scrape the inside of your cheek
- Smear a thin layer of cells onto two different slides
- Cover one with a coverslip or clear sticker and label it
- Add a drop of diluted stain to the second slide, cover with a coverslip or clear sticker, and label the slide
- Prepare plant stalk slides
- Use a microtome or sharp blade to carefully cut two thin slices (cross sections) of the plant stalk
- Place the slices on two different slides
- Cover one with a coverslip or clear sticker and label it
- Add a drop of diluted stain to the second slide, cover with a coverslip or clear sticker, and label the slide
- Prepare onion slides
- Peel the onion to reveal the paper thin layer in between the thick onion layers
- Place a piece of the thin layer on two different slides
- Cover one with a coverslip or clear sticker and label it
- Add a drop of diluted stain to the second slide, cover with a coverslip or clear sticker, and label the slide
- Observe the sets of unstained and stained slides under your Foldscope. Draw and color what you see in your science notebook - be sure to label your drawings! Make note of similarities and differences between the unstained and stained specimens.
- Cheek Cells - nucleus
- Plant Stem - xylem and phloem
- Onion - cell walls and nucleus
- Which slides were easier to use for identifying the different structures? Why?
- Observe the prepared slides (MicroRealms Explorer Cards or glass) in your Foldscope. Draw and color what you see in your science notebook - be sure to label your drawings!
- Did all of the prepared slides use stains? Why or why not?
- Do you think the stains helped or hindered your understanding of what was on the slides?
- Extension: If you have access to multiple types of stains, try staining your samples with a variety of colors. Did some work better than others? What differences (if any) were you able to observe?

The Intersection of Science and Art:
Histochemistry has the ability to blend the worlds of science and art. The use of color to showcase microscopic structures and properties can be beautiful to behold. There is even a contest held by the National Society for Histotechnology called “The Art of the Stain” where you can vote for your favorite histological stain! (Note: the voting for 2024 has closed, but bookmark this page for future contests!) Take a look at your stained slides - do any of them look like works of art?

Extension:
This blog ties together the three dimensional framework of the NGSS. It covers the Disciplinary Core Idea of Life Science. Students will see the Crosscutting Concept of Structure and Function. This activity is also a way for students to deepen their understanding of the Science and Engineering Practice of Developing and Using Models.

However, this exploratory activity can go beyond the science classroom. Join forces with:
- a Social Studies teacher to compare the microscopic images to those seen in maps
- and a visual arts teacher to identify the different elements and principles of art present in the microscopic images!

Connect:
Share your observations, discoveries, pictures, and interdisciplinary extension activities with the Foldscope community. Submitting your histochemistry related Foldscope images to the Microcosmos will help build up a strong scientific database that can help support new and innovative scientific research!
Sources:
https://www.histochemicalsociety.org/what-is-histochemistry-


